Most roof leaks that report as a membrane failure start at a termination. Water follows the path of least resistance, and the path usually runs along a wall, around a curb or down a pipe. The first-hour check on a flashing report is to find where the stain is, trace it uphill to the nearest edge or penetration, and decide whether the interior below can be protected while the cause is confirmed.
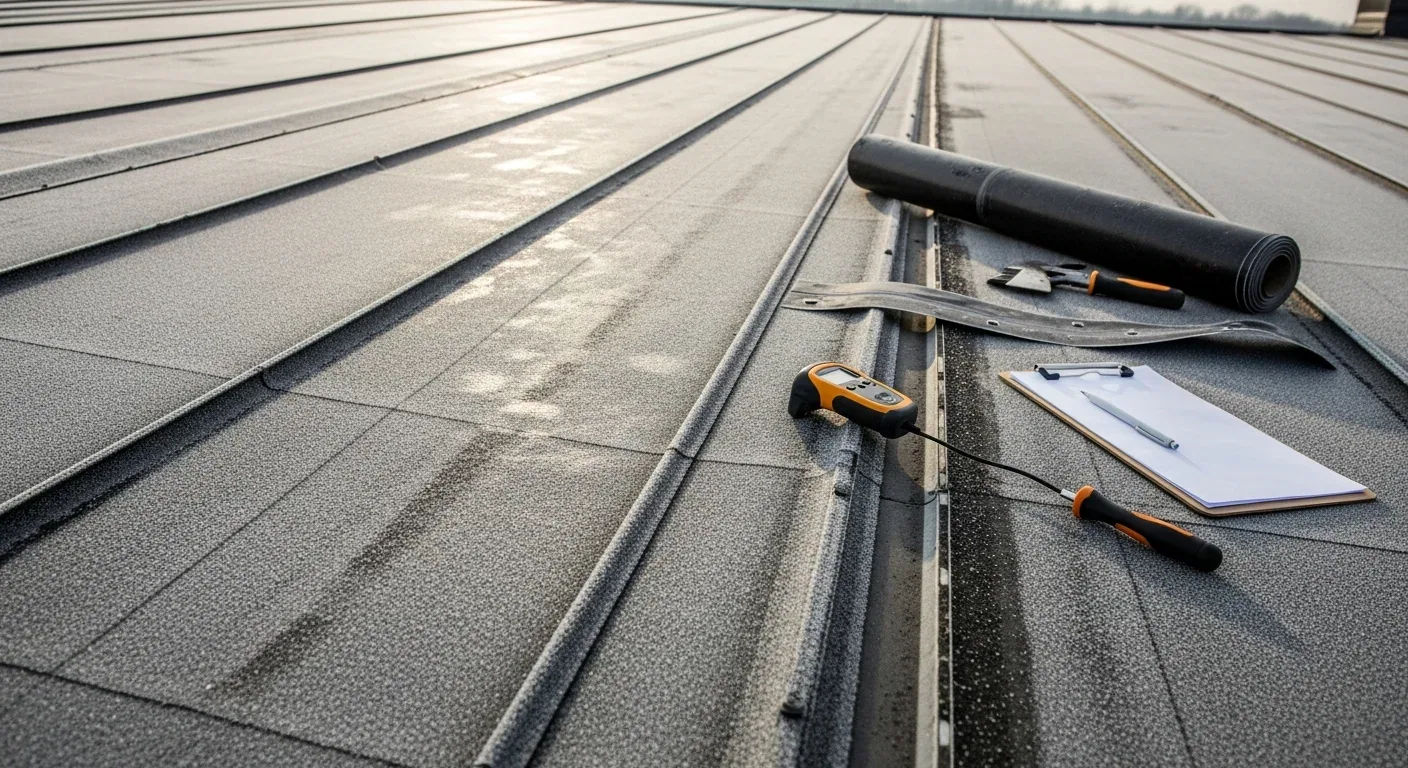
Flashing is the part of a roof that moves. Walls shift, equipment vibrates, metal expands and contracts, and sealants age. A January that averages near 25 degrees and a July near 73, by NOAA's Lowell normals, give every joint on a roof here a wide seasonal range to move through. The inspection note records each flashing by location, material and condition, so the repair boundary is drawn on evidence.
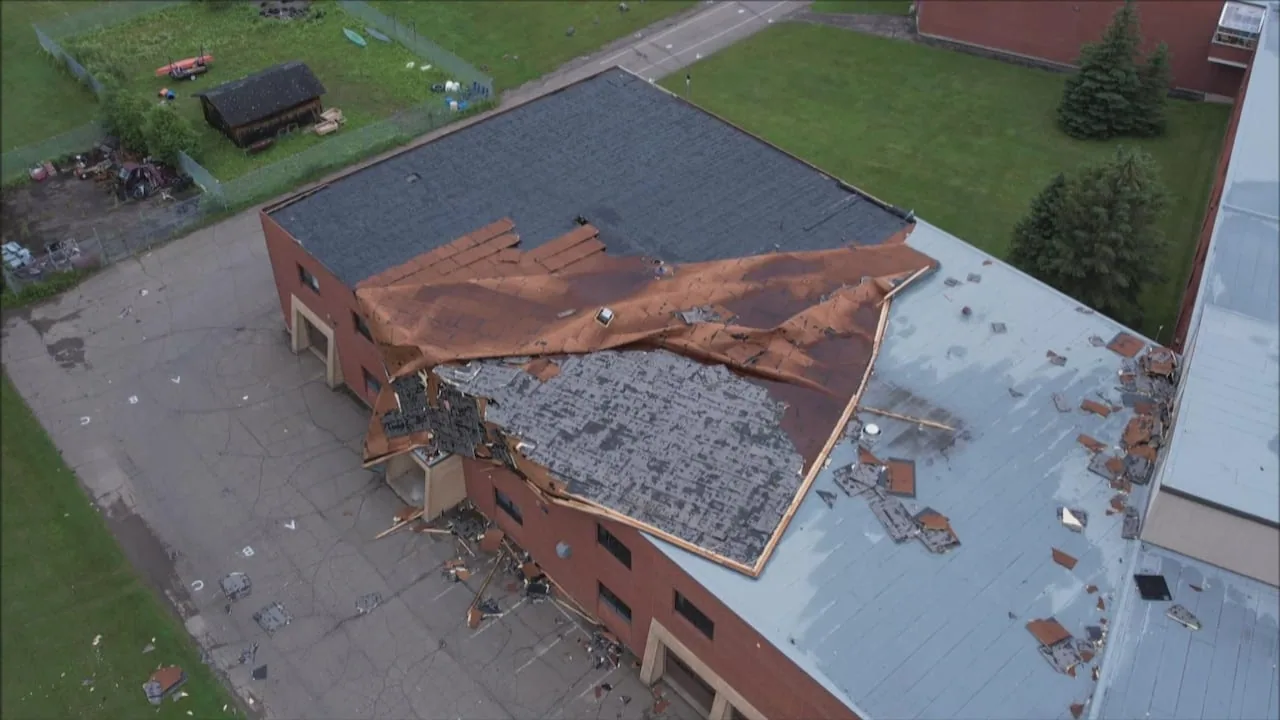
Wind and water often share a cause. A flashing that lifted in a gust, as seen in wind damage repair, lets water in at the next rain. A flashing that pooled water at its base, as in ponding water repair, fails sooner than one that drains. We note those links in the report so the owner sees the cause as well as the symptom.
Wall Terminations and Counterflashing
Where a roof meets a wall, two pieces work together. The base flashing turns up the wall from the membrane, and the counterflashing laps over its top edge to shed water. When either fails, water runs behind the termination. Common faults include a counterflashing that has pulled from its reglet, a termination bar with fasteners backed out, and sealant that has cracked along the top edge.
We check the height of the base flashing above the membrane, since a short flashing floods in a heavy rain or a snow melt. We press along the termination bar and tap the counterflashing for loose sections. In the downtown historic district, exterior work goes to Historic Board review, so the scope marks any item that would change the look of a wall.
Parapet caps and coping deserve the same walk. Water that gets behind a cap runs down the inside face of the parapet and shows up at the termination below, which looks like a flashing fault. The fix is at the cap, not the flashing, and the report says so.
Curbs, Penetrations and Pipe Boots
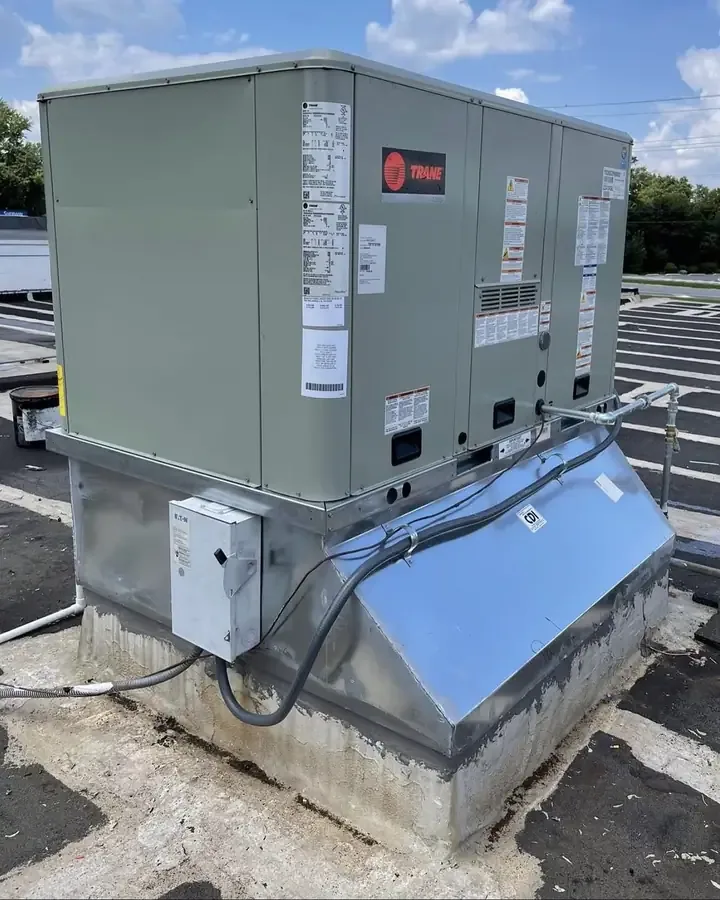
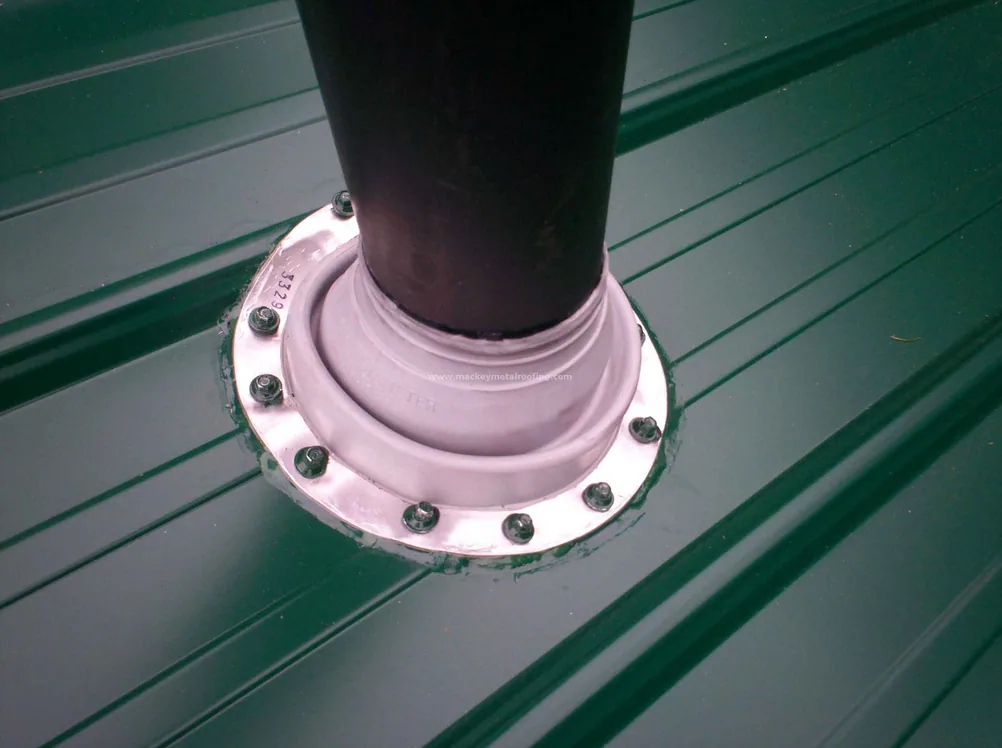
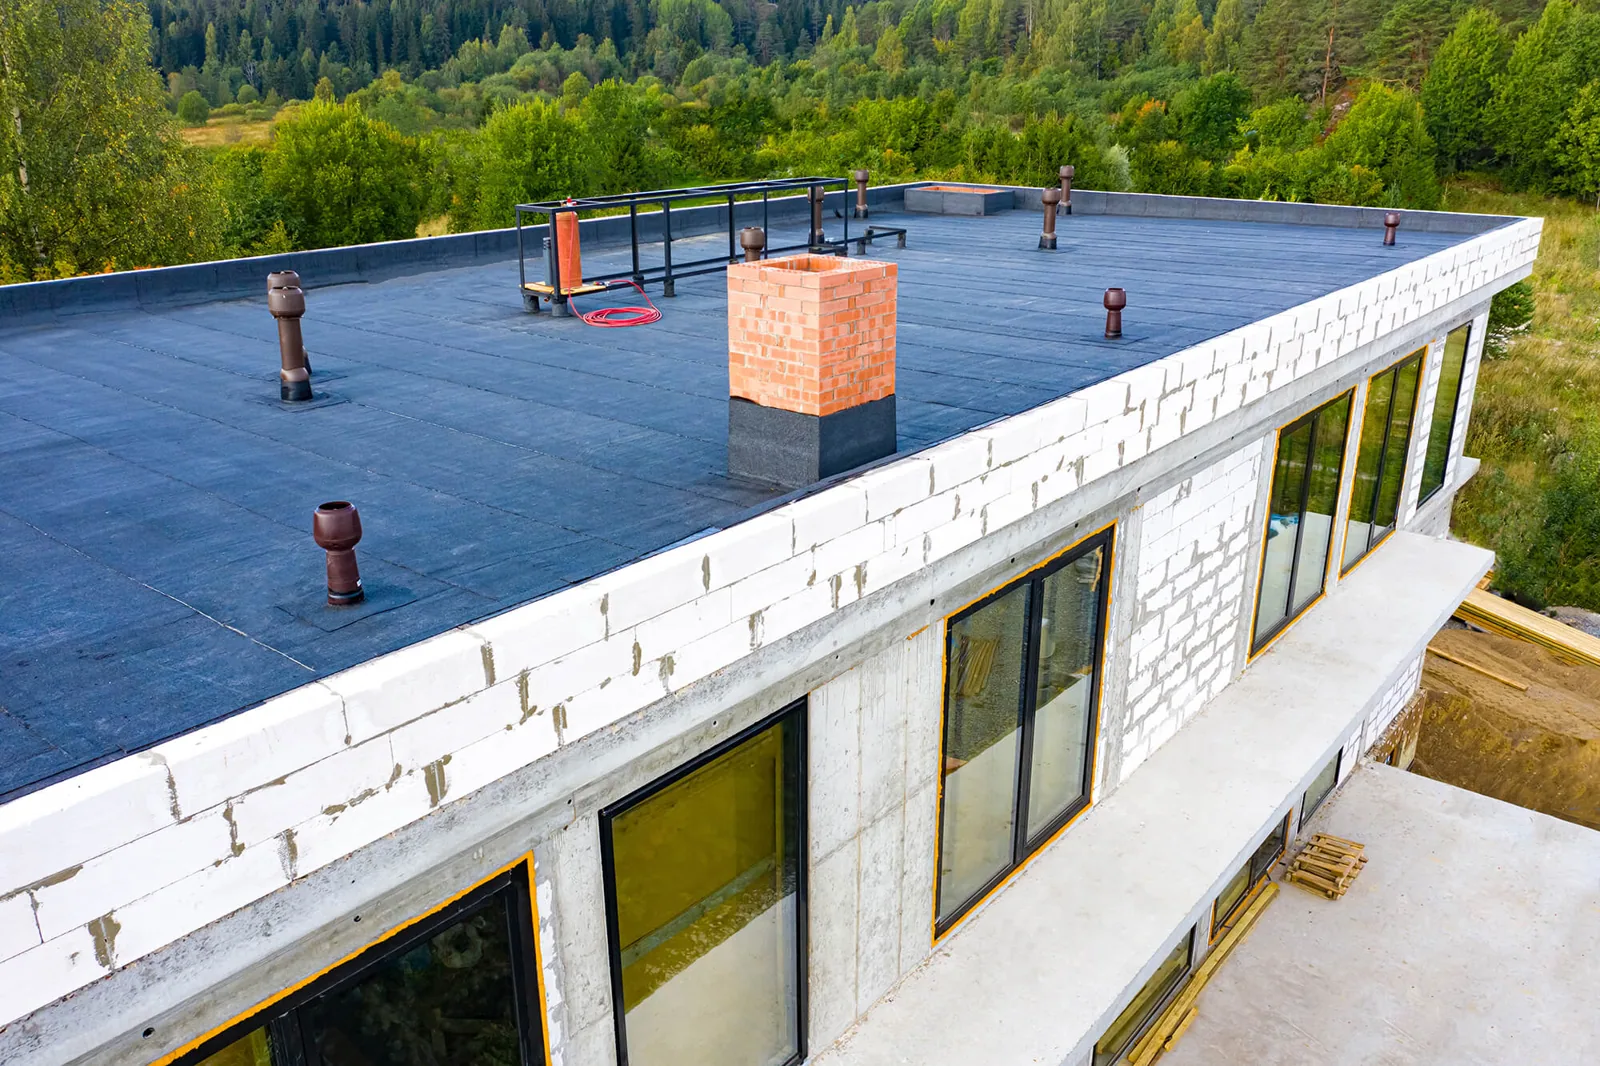
Every penetration is a hole in the roof with a seal around it. A rooftop unit sits on a curb with flashing on four sides. A pipe passes through a boot. A vent stack has a collar. Each seal has a service life that is shorter than the field membrane's, and they fail in a familiar order: pipe boots first, then curb corners, then the sealants at counterflashing.
We count the penetrations on each roof section and photograph each one. Curb corners and the pitch pocket or boot at pipes get a probe test. If a curb has shifted, the flashing at its base is reopened, and we look at the support, starting with the curb and its supports. Replacing a boot costs less than the ceiling tiles beneath it, which is why the penetration count goes in every report.
Material Choices for the Repair
The repair material has to be compatible with the roof system. A TPO or PVC roof takes heat-welded patches and prefabricated corners. An EPDM roof takes cured or uncured flashing with the proper primer and adhesive. Modified bitumen takes torch or cold-applied flashing, depending on the building's rules about open flame. A liquid-applied flashing resin suits complex shapes where a prefabricated piece does not fit, if the surface is clean and dry.
Sealant alone is not a repair. A bead over a failed joint hides the opening for a season or two, and the next freeze-thaw cycle reopens it. We use sealant to finish a mechanical termination, not to replace one. Each skylight or penetration flashing gets a detail chosen for its shape and its movement.
Compatibility is the item to watch. A solvent in one sealant can soften a membrane that a different sealant would leave alone, and an adhesive that bonds well to one sheet can fail on another. We check the product data against the roof system before opening a can, and we test a small area when the existing material is unknown.
Repair Boundary and Weather Hold
The repair boundary is the line on the roof plan that marks the flashing being replaced. It extends past the visible failure to the point where the existing flashing is sound. A boundary drawn too tight leaves the next failure two feet away, so we pull back adhesive and sealant to find solid material before we measure.
Adhesives and welds need a clean, dry surface and temperatures in the working range. Rain and snow reach these roofs in every season, so weather holds are common. A temporary seal goes on the same day, and the permanent flashing waits for the return window. The note to the facility director says which stage is which and what each costs.
Owners with buildings across Lowell can ask for the boundary and weather hold to be recorded on the same form for every site. Access routes via Route 3 and I-495 are confirmed for each address, so the crew arrives with the right materials and lift.
Cost Update and Records
Flashing repairs are priced by linear foot of termination, by the number of penetrations and by the access needed. A wall flashing on a tall parapet costs more than the same length at a low curb, because of the lift and the fall protection. We give a first figure after the walk and an updated one if hidden damage turns up behind the termination. For owners tracking several buildings, a leak repair report can list flashing items by building.
The closeout file contains photographs of each repaired flashing before and after, the plan with the boundary marked, and product data for each material. Buildings in the Hamilton Canal District or along the Lowell Connector can be kept in the same format, which helps when a portfolio is reviewed.
After the repair, a short inspection after the first heavy rain confirms that the water path is closed. Photographs from that visit go into the file beside the originals.
Commercial Roofing Questions
Why does the leak show up far from the flashing that failed?
Water travels along the deck, the insulation joints and the underside of the membrane before it drips. The stain marks where it exits, not where it enters, so we trace it uphill to the nearest edge or penetration.
Is resealing a flashing joint a permanent fix?
Not usually. Sealant is a finish, and it ages in sun and cold. A permanent fix replaces the flashing or restores the mechanical termination, with sealant on top.
How is a historic downtown building handled differently?
Downtown exterior changes go to the Historic Board. We separate a like-for-like repair from a change in appearance and tell the owner which one needs review.
Which records show that the flashing was repaired?
Before and after photographs with dates, the plan marking the boundary, and product data for the materials installed. Together they form the closeout file.
When can flashing work happen in winter?
Temporary seals go on whenever water is entering. Permanent flashing needs a dry surface and workable temperatures, so it waits for the return window unless the weather allows.